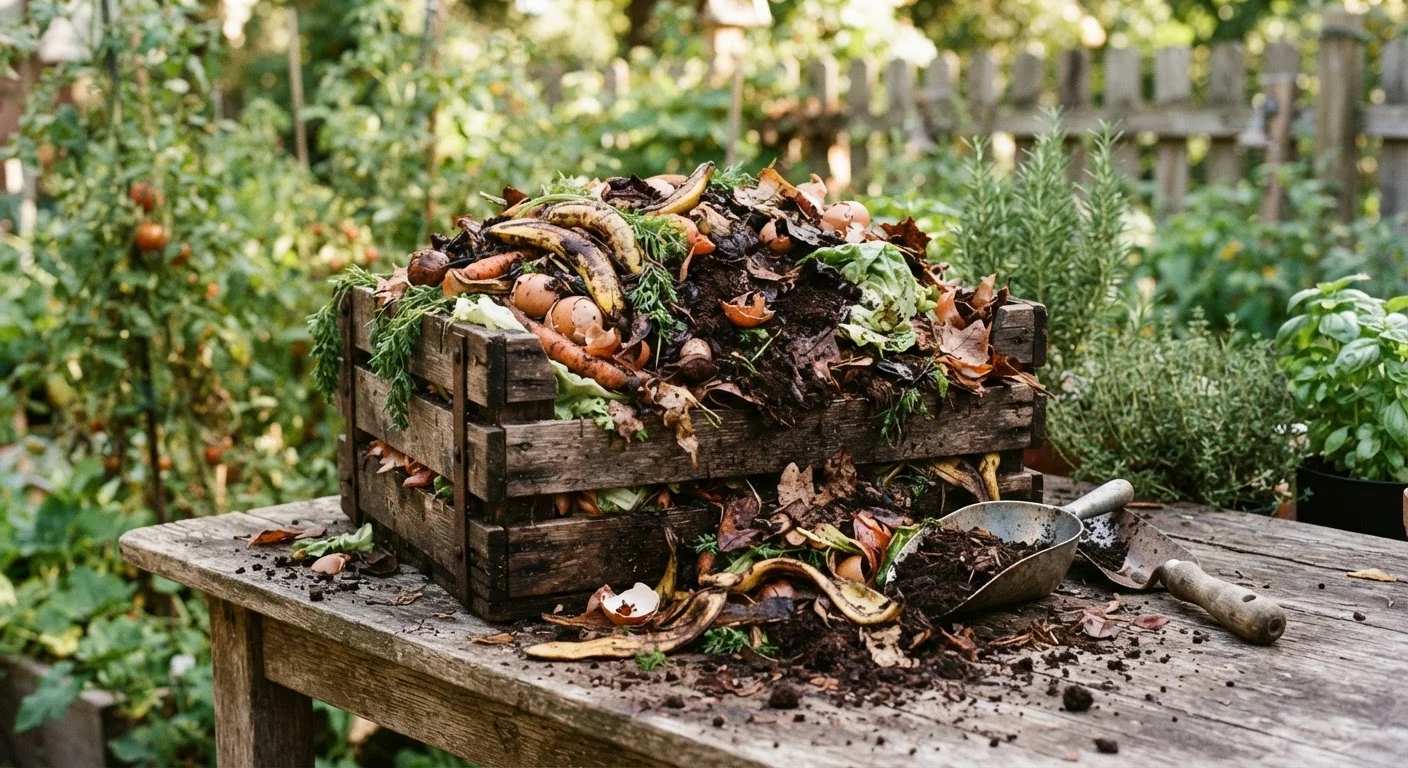
Why Composting Matters for Your Soil
Compost is often described as a soil amendment, but its effects go well beyond adding nutrients. Worked into garden beds, it improves soil structure — loosening dense clay soils while helping sandy soils retain moisture and nutrients. It supports diverse microbial populations that make existing soil nutrients more available to plant roots. Understanding soil pH and fertility gives you a clearer picture of what finished compost is actually contributing to your beds.
Home composting also reduces the volume of organic material sent to landfill, where it would decompose anaerobically and generate methane rather than quietly enriching your garden. For most households, food and garden waste makes up a meaningful share of weekly trash — redirecting that into a compost pile is one of the more immediate and visible sustainability practices available at the household level.
Chop or Shred for Faster Results
Smaller pieces decompose significantly faster than whole scraps. Run cardboard through a shredder, chop vegetable trimmings into rough chunks, and break up woody stems before adding them. This one habit can cut weeks off your composting timeline without any other changes.
What to Add — and What to Leave Out
The most common composting mistakes involve adding the wrong materials. A healthy pile relies on a working balance of carbon-rich and nitrogen-rich inputs, consistent moisture, and adequate oxygen. Paper egg cartons, cardboard (without glossy coatings), dried corn stalks, and even hair and nail clippings are acceptable browns that many composters overlook. On the greens side, fresh grass clippings are high in nitrogen but should be added in thin layers — thick clumps mat together and block airflow.
Keep These Out of Your Pile
Never add meat, fish, bones, dairy products, cooking oils, or pet waste to a standard backyard compost pile. These materials attract pests, create odor problems, and can introduce pathogens. Diseased plant material and weeds that have already gone to seed should also be excluded, as a home pile may not reach temperatures high enough to neutralize them.
If you garden in containers or raised beds, finished compost blended into potting mix can meaningfully extend how long your containers perform between feedings. Our guide to container gardening on balconies and patios covers feeding strategies for small-space growing. For end-of-season garden care, compost application is a core step — see the end-of-season garden shutdown checklist for the full picture.
Tools and Setup
Getting started requires minimal investment. The essentials are a containment method, a turning tool, and a way to add water. Everything else is optional and can be added once you have the process running smoothly.
Compost bin or pile enclosure
Contains materials, retains heat and moisture, and keeps pests out.
Garden fork or compost aerator
Used to turn and aerate the pile, introducing oxygen to speed decomposition.
Kitchen countertop compost collector
Holds food scraps between kitchen trips so you're not running outside after every meal.
Garden hose or watering can
Adds moisture when the pile dries out, keeping microbial activity alive.
Compost thermometer
Monitors internal pile temperature to confirm active decomposition is occurring.
Before you begin, make sure you have the following in place:
What you will need
Step-by-Step Composting Process
Follow these steps to build and maintain a productive home compost system. Most active composting takes two to six months depending on pile management, ambient temperatures, and material types — expect shorter timelines in warm weather with regular turning, and longer timelines in cooler conditions with minimal intervention.
Choose and set up your composting method
Decide on a format that suits your space. A simple open pile works well in large yards; a three-sided wooden bin balances airflow and containment; a tumbler-style bin offers speed and pest resistance in smaller spaces. Situate your pile or bin on bare soil rather than concrete — contact with the ground allows beneficial organisms to enter naturally. Aim for a minimum footprint of roughly 3 feet × 3 feet, which is the smallest size that reliably generates enough internal heat to drive decomposition.
Understand what to add
Compost depends on two categories of material working together. Browns — carbon-rich materials — include dried leaves, cardboard, straw, paper, and woody stems. Greens — nitrogen-rich materials — include fruit and vegetable scraps, coffee grounds and filters, tea bags, grass clippings, and fresh plant trimmings. A rough ratio of 2–3 parts browns to 1 part greens by volume keeps the pile active without becoming smelly or slimy. If your pile develops a strong ammonia odor, add more browns; if it stalls and looks dry, add greens.
Build and layer your pile
Start with a 3–4 inch layer of coarse browns — straw or wood chips work well — to create a base that allows air to circulate from the bottom. Alternate layers of greens and browns as you add material over time. There is no need for rigid precision; the goal is a reasonable mix throughout the pile rather than perfectly distinct strata. Add new materials to the center of the pile rather than always to the top surface, which helps distribute moisture and heat more evenly.
Manage moisture and aeration
Decomposition requires oxygen and consistent moisture. Turn the pile every one to two weeks using a garden fork, moving material from the outer edges into the center where temperatures are highest. Each turning session also introduces fresh air. Between turnings, monitor moisture — the pile should feel uniformly damp like a wrung-out sponge. During rainy periods, cover the pile with a tarp to prevent waterlogging and nutrient leaching.
Recognize when compost is finished
Finished compost looks dark brown to black, has a loose, crumbly texture, and smells earthy — similar to forest soil. None of the original inputs should remain recognizable, though occasional woody fragments are acceptable. The pile will have reduced significantly in volume, often by 50% or more. If you are unsure, leave questionable material in the pile for another few weeks. Applying immature compost can temporarily tie up soil nitrogen, working against rather than for your plants.
Apply compost to your garden
Work finished compost into planting beds at a depth of 2–4 inches, mixing it into the top 6–8 inches of existing soil. For established plants, apply it as a surface top-dressing and let rain and earthworms work it down. Compost also pairs well with mulch applications — apply compost first, then add a mulch layer on top. For vegetable beds, a seasonal application before planting is one of the highest-return soil investments you can make. See our first-timer's vegetable garden guide for how to prep beds before your first crop.
Once you have a reliable supply of finished compost, it pairs naturally with other soil improvement strategies. Paired with a well-chosen mulch, compost creates a layered soil environment that supports moisture retention and plant health through the season. When planning which crops and plants to grow together, your compost-improved soil sets the stage — see our article on companion planting for strategies that make the most of a well-prepared bed.