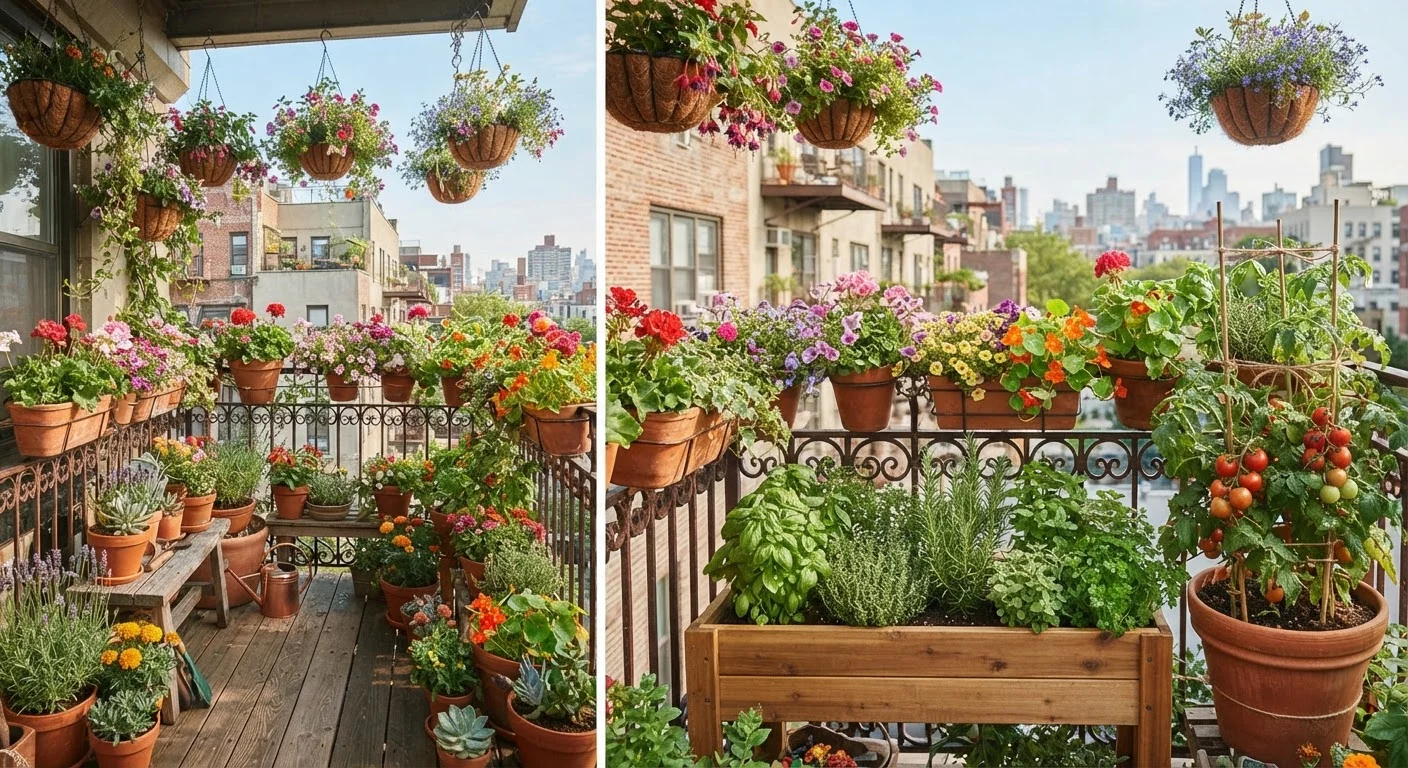
Why Container Gardening Rewards the Small-Space Grower
The assumption that productive gardening requires a yard and a patch of ground is simply outdated. Container gardening gives you complete control over soil quality, drainage, and placement — advantages that in-ground gardeners don't automatically have. You can move plants to chase sunlight, shelter them from unexpected frost, and tailor each pot's growing medium to exactly what that plant needs.
The key difference between a thriving container garden and a disappointing one is almost always setup. Underpowered containers, poor drainage, wrong soil, and mismatched plants are responsible for the vast majority of failures. The steps below address each of these directly, in the order you'll encounter them. For a broader look at how to shape your entire outdoor area around how you actually use it, the guide to designing your outdoor space is a useful companion read.
What you will need
If you're coming from traditional gardening, note that container growing has its own logic — for a direct comparison with raised bed and in-ground methods, see Raised Beds vs. In-Ground Planting.
Tools and Materials You'll Need
Containers (pots, planters, or window boxes)
Hold growing medium and plants; must have drainage holes.
High-quality potting mix
Provides aeration, drainage, and nutrients suited to container growing.
Slow-release granular fertilizer
Feeds plants consistently over weeks without repeated applications.
Liquid fertilizer (balanced or bloom-specific)
Provides quick nutrient boosts during active growing seasons.
Saucers or drip trays
Catch excess water beneath pots to protect surfaces and neighbors below.
Moisture meter or wooden skewer
Helps gauge soil moisture so you water at the right time, not on a fixed schedule.
Plant stakes or cage supports
Supports climbing or top-heavy plants like tomatoes and peppers.
Gathering these materials before you begin prevents the common mistake of planting into underprepared containers and then scrambling to fix drainage or nutrition problems mid-season.
Step-by-Step Setup
Assess your sun, wind, and weight conditions
Before buying a single pot, spend a day observing your outdoor space. Track how many hours of direct sunlight it receives — six or more hours qualifies as full sun, three to six is partial sun, and fewer than three is shade. This single factor determines which plants will thrive versus struggle.
Wind is equally important on balconies and upper-level patios. High airflow dries out soil rapidly and can damage delicate foliage. Note whether your space is exposed or sheltered by walls, overhangs, or neighboring structures.
Finally, verify your balcony's weight limit. A typical 10-gallon pot filled with wet soil can weigh 50–80 pounds. Cluster heavy pots near structural walls or beams rather than in the center of the floor, and keep total load within safe bounds.
Choose the right containers
Container size directly affects plant health. For most vegetables and large ornamentals, choose pots that are at least 12 inches in diameter and 12 inches deep. Herbs can manage in 6–8 inch pots; tomatoes need 15–20 gallon containers to root properly.
Material matters for weight and heat retention. Terracotta is breathable but heavy and dries quickly. Fabric grow bags are lightweight, affordable, and promote excellent root health through air pruning. Lightweight fiberglass and resin pots are good compromises — they look substantial but won't overload a balcony.
Every container must have drainage holes. Without them, roots sit in waterlogged soil and rot. If you fall in love with a decorative pot that lacks drainage, use it as a cache pot — place a functional nursery pot inside it.
Fill with the correct growing medium
Never use garden soil or topsoil in containers. It compacts quickly, restricts root growth, and can introduce pests or pathogens. Instead, use a quality all-purpose potting mix — these are formulated to drain well while retaining enough moisture for container plants.
For large containers, consider a mix that includes perlite or coarse vermiculite to improve drainage further. For edibles, look for mixes that include slow-release nutrients or supplement with compost. If you create your own compost at home, a small addition works well — see our guide to home composting for how to produce and use it.
Fill containers to within 1–2 inches of the rim to leave room for watering without overflow.
Select plants suited to your conditions
Match plants to your confirmed sun level first. For full sun: tomatoes (choose compact varieties like 'Patio' or 'Bush Early Girl'), peppers, basil, zucchini (in a very large pot), and most annual flowers. For partial sun: lettuce, spinach, parsley, mint, impatiens, and begonias. For shade: ferns, hostas, coleus, and some trailing ivies.
Stick to dwarf or container-bred varieties whenever possible — these are selected for compact root systems and smaller overall size. Crowding plants into undersized containers is the most common beginner mistake and almost always leads to disappointment.
Combining compatible plants in one large container saves space and can look striking. Our article on companion planting covers which pairings genuinely support each other versus which are garden folklore.
Establish a watering and feeding routine
Containers dry out significantly faster than in-ground beds, especially in warm weather or wind. Check soil moisture daily during summer by inserting a finger or wooden skewer two inches deep — water when it comes out dry. In peak heat, some containers may need watering twice a day.
Water thoroughly each time until it drains from the bottom holes, then let the soil approach dryness before watering again. Shallow, frequent watering encourages surface roots that make plants more vulnerable to heat stress.
Feeding is non-negotiable in containers. Potting mix nutrients deplete within 4–6 weeks. Incorporate a slow-release granular fertilizer at planting, then supplement with a balanced liquid fertilizer every two to three weeks during the growing season. Edibles and heavy-flowering plants are particularly hungry — don't skip this step.
Troubleshooting Common Container Gardening Problems
Even well-planned container gardens run into issues. Here are the most common ones and how to address them:
- Yellowing leaves: Often a sign of nutrient deficiency (usually nitrogen) or overwatering. Check soil moisture first, then assess your feeding schedule.
- Leggy, stretching growth: The plant isn't getting enough light. Move it to a sunnier position or swap it for a shade-tolerant variety.
- Wilting despite moist soil: Likely root rot from poor drainage. Check that holes aren't blocked and that the pot isn't sitting in standing water.
- Soil pulling away from pot edges: The mix has dried out completely and is hydrophobic. Soak the entire pot in a tub of water for 30 minutes to re-wet thoroughly.
- Pests on leaves: Aphids, spider mites, and whiteflies are the most frequent container pest visitors. Isolate affected plants, remove visible insects by hand or with a strong stream of water, and monitor regularly.
Don't Ignore Drainage — It's Non-Negotiable
Pots without adequate drainage or saucers that never empty cause root rot faster than almost any other mistake. Check saucers after every watering and empty them within an hour if water remains. On balconies, pooling water can also damage the structure beneath and may run off onto neighbors — a legal liability in some situations.
For first-time gardeners who want a complete grounding in growing edibles from scratch, Starting a Vegetable Garden from Nothing offers a thorough foundation that complements the container-specific guidance here.