Why Structure Makes All the Difference
Most people who feel overwhelmed by makeup aren't lacking skill — they're lacking a repeatable sequence. When you work through the same steps in the same order every morning, each product decision becomes automatic rather than deliberate, and the whole process compresses naturally over time.
This framework is built around a core principle: do less, but do it consistently. Before diving into the steps, it's worth noting that good makeup starts with well-prepped skin. If you're still establishing a skincare routine, our guide on why your canvas matters before any makeup explains how a simple morning routine creates a smoother, longer-lasting base. Likewise, if you're still assembling your kit, The First Makeup Kit walks through exactly what to keep on hand without overbuying.
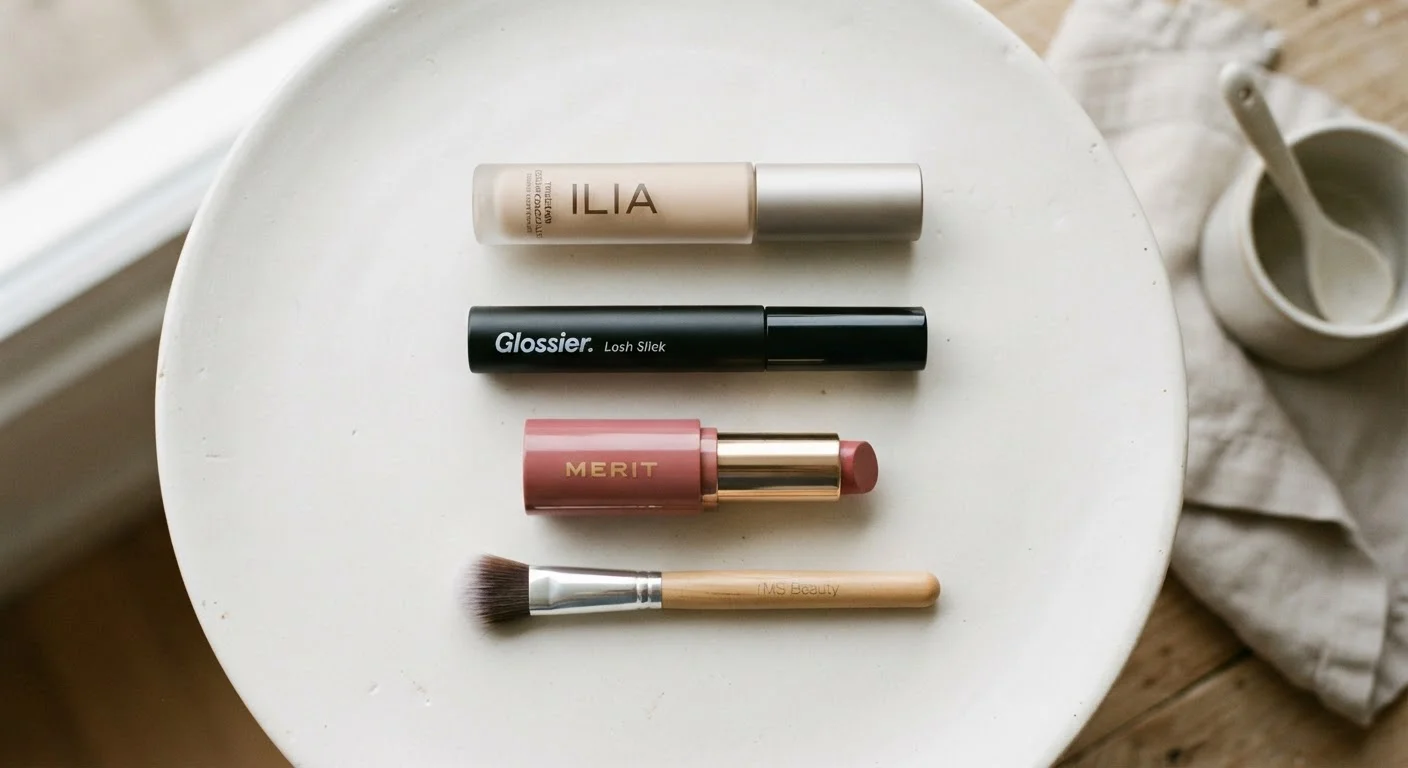
What you will need
The Five-Step Weekday Framework
The steps below follow a deliberate order: lightest to heaviest coverage, skin before color, and face before features. Work through them in sequence until the pattern becomes instinctive.
Prime Your Skin
After your skincare routine has fully absorbed — typically a minute or two after applying moisturizer — you're ready to begin. If your moisturizer doesn't include SPF, apply a separate sunscreen and allow it to set before proceeding. A well-hydrated surface helps every subsequent product blend more smoothly and last longer.
Apply a Light Base
Choose a tinted moisturizer, BB cream, or light-coverage foundation depending on your preference and skin type. Dot a small amount onto the center of your face — forehead, nose, cheeks, and chin — then blend outward using a damp beauty sponge or your fingertips. The goal is an even, natural finish rather than heavy coverage. Use only as much product as you need; you can always add more in specific areas.
Spot-Conceal Where Needed
Apply concealer only where you actually need it: under the eyes, over any blemishes, or around redness-prone areas. Use a small brush or your ring finger to tap — not rub — the product in. Tapping preserves coverage and prevents disturbing your base layer. Set with a light dusting of translucent powder if your skin tends to be oily, skipping this step if you have dry skin.
Define Your Eyes
For a weekday look, two steps are usually sufficient: one coat of mascara on the upper lashes, and optionally a thin line of pencil liner along the upper lash line or waterline. Curl your lashes before applying mascara if you prefer a more open-eye effect. Wiggle the mascara wand from root to tip, then let it dry for a few seconds before blinking to avoid smudging.
Add Color to Lips and Cheeks
A single product can often serve double duty here: a cream blush or lip-and-cheek tint applied with fingertips gives a natural flush to cheeks and can be tapped onto lips for a cohesive, low-effort look. If you prefer a more defined lip, apply a tinted balm or lipstick directly. Smile lightly and dab blush onto the apples of your cheeks, blending upward toward the temples.
Build Muscle Memory With Consistency
The more consistently you follow the same sequence, the less mental effort each step requires. Most people find that a five-step routine feels genuinely fast after two to three weeks of daily practice. If you want to strengthen your skincare foundation alongside this, Building Your First Skincare Routine from the Ground Up is a helpful companion starting point.
Finishing and Troubleshooting
Once you've completed the steps, take thirty seconds for a final scan. Look for unblended edges, uneven liner, or any areas where coverage looks patchy in natural light. Our article on a quick makeup check-in before you leave the house offers a structured way to catch the most common finish issues before you step out the door.
Avoid Rushing the Blending Step
Unblended product at the jawline, hairline, or around the nose is one of the most common issues with a hurried routine. If you're pressed for time, use less product overall rather than skipping blending — a sheer, well-blended finish always looks more polished than heavier coverage that isn't fully worked in.
Over time, you may want to expand this framework — adding a brow step, experimenting with eyeshadow, or swapping products for different seasons. That's the point: a reliable base routine gives you something solid to build from, rather than starting from scratch each morning. For readers who want to deepen their skin knowledge alongside their makeup practice, the Skincare Basics hub is a useful companion resource.