Why a Final Check Matters More Than You Think
Most finish problems aren't created by the products — they're created by artificial lighting. Warm bathroom bulbs can make blending look seamless when it isn't, flatten shadows that reveal uneven foundation edges, and mask cool-toned discoloration under the eyes. By the time you hit daylight, what looked polished at home can read very differently.
A structured pre-departure check takes under five minutes and works through the zones most likely to show common issues: blending edges, symmetry, skin texture, and wear resistance. If you're still building your morning routine, a reliable weekday makeup framework can help you sequence steps so this final check becomes the easiest part.
Lighting & Environment
Skin & Foundation
Brows & Eyes
Cheeks & Contour
Lips
Setting & Wear Resistance
Tools and Light: Setting Yourself Up for an Accurate Check
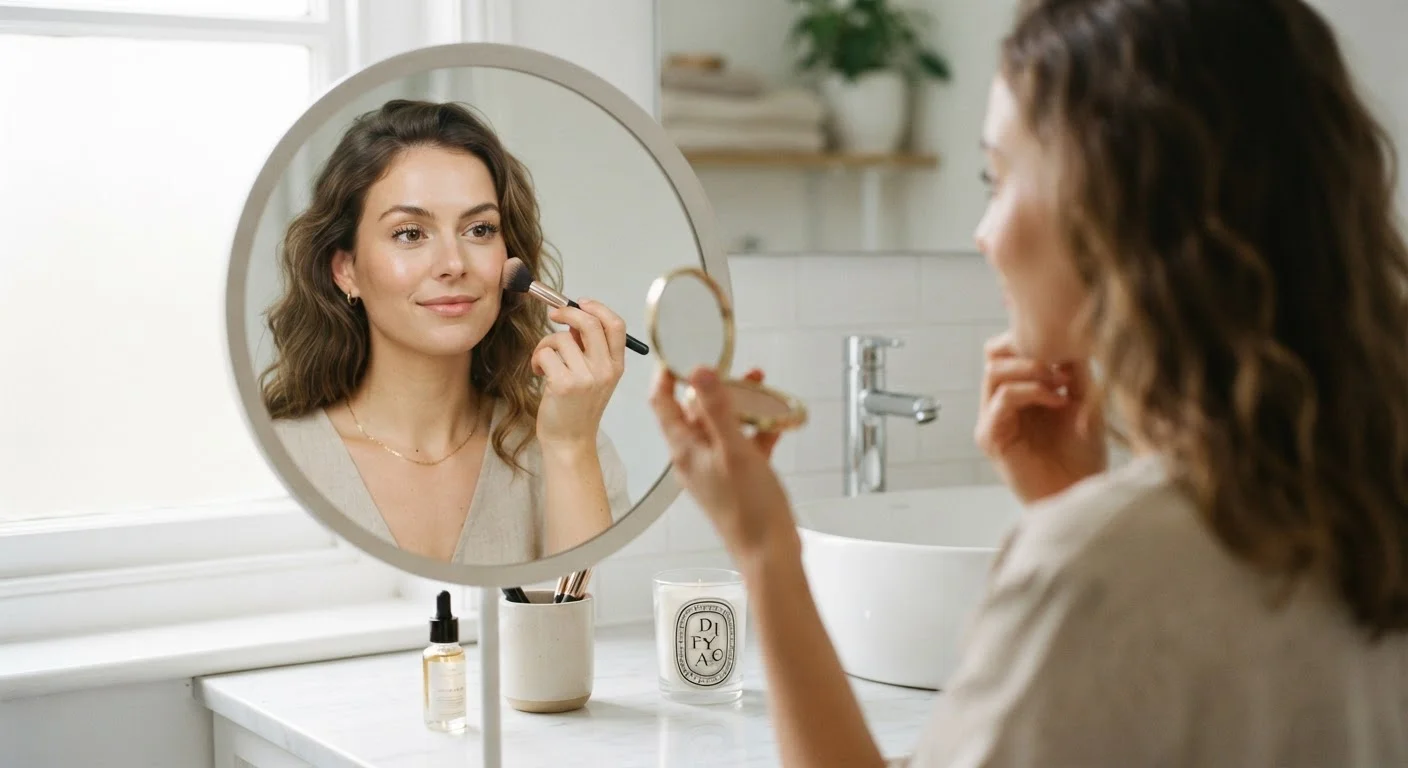
The right environment makes this check worthwhile. Position yourself near a window or use a daylight-balanced mirror — the goal is neutral, even light that mimics how others will see you outdoors. Avoid checking solely under warm overhead lighting, which adds yellow tones and softens contrast.
Daylight-balanced mirror or ring light
Provides neutral, even light that accurately reflects how your makeup will look in natural daylight.
Clean blending sponge
Used for last-minute blending corrections on foundation, concealer, or cheek products without disturbing the rest of your finish.
Spoolie brush
Combs through brows to soften and blend any product that looks too defined or uneven.
Translucent setting powder or setting spray
Locks your finish and reduces shine or movement before you head out.
Blotting papers
Absorbs excess oil in the T-zone without disturbing powder or colour products.
Cotton swabs
Cleans up small smudges around the eye area or lip line with precision.
Avoid Over-Correcting at the Last Minute
Adding more product to fix a blending issue often makes it more visible. If you spot a blending gap, reach for a clean brush or sponge rather than more foundation or concealer. Layering product on top of an already-set base can create patchiness that's harder to correct than the original issue.
What to Keep at the Door for Quick Fixes
Not everything needs to be corrected at the mirror. A small pouch near your exit point — stocked with a few targeted items — lets you address minor issues in under a minute without unpacking your full kit. Think of it as a finishing station rather than a backup bag. If you're still assembling your core products, a guide to building your first makeup kit covers what's genuinely worth having on hand.
A pre-departure makeup habit also pairs naturally with a seasonal skincare review — since how your makeup sits on skin often reflects what's happening underneath.
Your Skin Changes — Your Check Should Adapt
Humidity, temperature, and seasonal shifts affect how products sit on skin and how long they wear. A check that works well in winter may miss issues that appear in summer — particularly excess shine, colour fade, and foundation sliding. Adjust what you're looking for based on the season and conditions you're walking into.