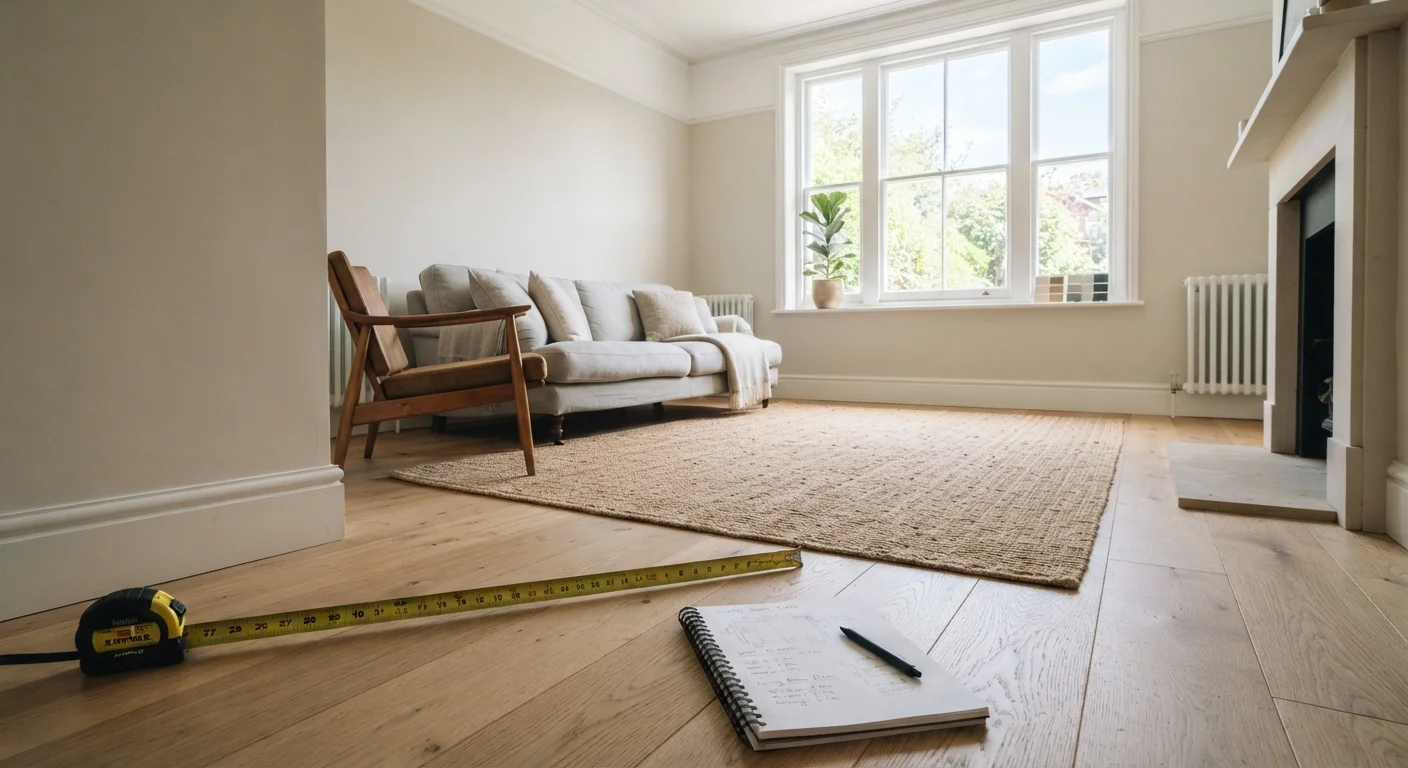
Why an Assessment Comes Before Any Design Decision
Decorating without a prior audit is one of the most common reasons rooms end up feeling awkward despite significant effort and expense. Paint colors chosen at the store look different under your specific lighting. Sofas ordered by style alone block radiators or crowd doorways. Rugs sized by eye leave furniture legs floating at the edges.
This checklist gives you a structured way to read a room before you invest in a single item. Whether you're moving into a new space or refreshing an existing one, working through these assessments takes 30 to 90 minutes and can redirect choices that would otherwise cost far more to undo. For context on how some popular design assumptions can mislead you at this stage, see common interior design myths worth questioning.
Tape Measure (25-foot)
Capture accurate room dimensions, doorway widths, and furniture clearance measurements.
Graph Paper or Room Planning App
Sketch a scaled floor plan to test furniture arrangements before moving anything.
Notepad or Digital Notes App
Record lighting observations, fixed element locations, and assessment findings for reference.
Compass or Compass App
Determine which direction windows face so you can accurately predict natural light patterns.
Level
Check whether floors and walls are truly level before planning built-ins or wallpaper.
The Full Pre-Styling Checklist
Work through each group systematically. Use your tape measure throughout — guessing dimensions is where most pre-decoration mistakes begin.
Dimensions and Proportions
Light Sources
Traffic Flow and Access
Fixed Architectural Elements
Focal Point and Visual Balance
Existing Fixed Finishes
Permits and Professionals Matter for Structural Work
If your assessment reveals a desire to remove walls, move electrical panels, or alter plumbing locations, these are regulated tasks in most US jurisdictions and require licensed professionals and proper permits. Proceeding without permits can affect home insurance and resale. Always verify local building codes with your municipal authority before any structural or systems work begins.
Once you've completed the assessment, your next step is translating these findings into a layout. Furniture arrangement principles used by professional designers can help you apply what you've learned here into a plan that feels intentional and balanced.
Turning Your Findings Into a Starting Plan
After working through this checklist, you'll have a clear picture of what your room permits, what it limits, and where genuine flexibility exists. Sketch a rough floor plan — even a hand-drawn one on graph paper — and mark fixed elements, traffic lanes, and the focal point. This becomes your decision filter: every furniture piece, color choice, and lighting fixture can be tested against it before you commit.
Don't Skip the Lighting Assessment
Paint colors, fabric tones, and wood finishes can look dramatically different under warm incandescent light versus cool daylight versus LED. Many decorators test large paint samples — at least 12-by-12 inches — on the actual wall and observe them across morning, midday, and evening before committing. Skipping this step is the single most common reason a carefully chosen color disappoints once it's on all four walls.
Revisiting the home improvement guides hub can also help you identify whether any structural, electrical, or plumbing constraints you've noted warrant professional attention before decorating begins.