Why Fluid Checks Matter for Every Driver
Modern vehicles depend on a carefully balanced set of fluids to lubricate moving parts, regulate temperature, transmit force, and keep vision clear. When any one of these drops below safe levels — or degrades in quality — the consequences can range from minor inefficiency to engine damage or brake failure.
The good news is that checking most fluids takes under 20 minutes and requires no specialist tools. Building this habit into your regular routine is one of the most cost-effective forms of vehicle maintenance available to any driver. It's also a key part of any pre-long-journey inspection.
What you will need
If a dashboard warning light has prompted this check, familiarize yourself with what your car's instruments are signaling — our guide to dashboard warning lights explains which alerts demand immediate action.
How to Check Each Fluid: Step-by-Step
Never Check Fluids on a Hot Engine
Always allow your engine to cool for at least 15–30 minutes before opening the hood. Coolant reservoirs and radiator caps can release scalding steam under pressure. Engine oil readings are also inaccurate when the engine is at full operating temperature.
Owner's Manual
Identifies the correct fluid types, capacities, and dipstick or reservoir locations specific to your vehicle.
Clean Lint-Free Rags
Used to wipe dipsticks clean before taking an accurate reading.
Flashlight
Helps illuminate the engine bay and fluid reservoirs in poor lighting conditions.
Nitrile Gloves
Protects hands from contact with brake fluid, coolant, and other chemicals that can irritate skin.
Park on a level surface and let the engine cool
Pull onto a flat, level surface and switch off the engine. Wait at least 15–30 minutes before opening the hood — this prevents inaccurate readings and protects you from pressurized hot fluids. Engage the parking brake before proceeding.
Check the engine oil level
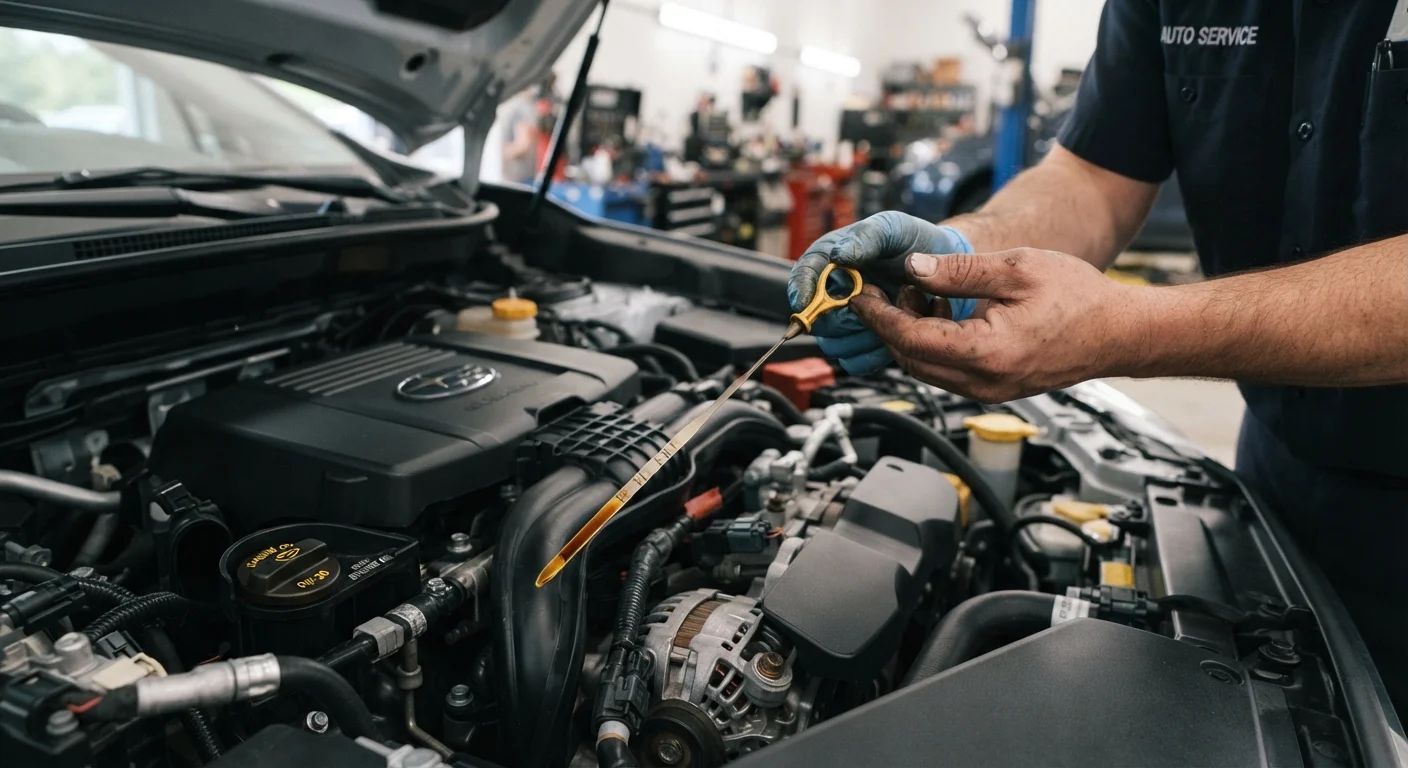
Locate the oil dipstick (usually marked with a brightly colored handle — yellow or orange). Pull it out, wipe it clean with a rag, reinsert it fully, then withdraw it again. The oil level should sit between the MIN and MAX markers. Note the oil's color: fresh oil is amber; dark brown or black oil may indicate it's due for a change.
Inspect the coolant (antifreeze) level
Locate the translucent coolant reservoir — never open the radiator cap itself on a warm engine. The reservoir has MIN and MAX markings visible from the outside. The fluid should be a bright color (green, orange, or pink depending on type) and free of visible debris or rust particles.
Check brake fluid
The brake fluid reservoir is typically a small translucent plastic container near the firewall on the driver's side. Check the level against the MIN/MAX markings without opening the cap unless necessary. Brake fluid should appear clear to light yellow. Consistently low brake fluid can indicate worn brake pads or a leak in the hydraulic system.
Examine power steering fluid (if applicable)
Many modern vehicles use electric power steering and have no fluid reservoir. If your car has hydraulic power steering, locate the reservoir (check your owner's manual) and verify the level is between MIN and MAX. The fluid should be clear to pale pink. Dark, dirty fluid or a whining noise when turning the wheel are signs the system needs attention.
Check transmission fluid
On vehicles with a transmission dipstick, the process mirrors the engine oil check — wipe, reinsert, withdraw, read. The fluid should be pink or red and translucent; dark brown or burnt-smelling fluid indicates it needs changing. Many modern vehicles have a sealed transmission with no dipstick — for these, fluid inspection requires a lift and is best left to a mechanic.
Top up windshield washer fluid
The washer fluid reservoir is usually the easiest to locate — look for a cap with a windshield-and-water symbol. This is the one fluid you can top up freely without mechanical concern. Use a purpose-made washer fluid rather than plain water, which can freeze in winter and promote bacterial growth in the reservoir.
Build Checks Into a Monthly Routine
Pairing fluid checks with a monthly task — such as filling up fuel or washing the car — makes them easier to remember. A consistent schedule catches slow leaks and gradual degradation before they become costly repairs. See our seasonal maintenance guide for checks that go beyond the monthly routine.
Reading the Warning Signs
Fluid levels alone don't tell the whole story. Condition and color are equally important indicators. Engine oil that's gritty or tar-black suggests it's well overdue for a change. Coolant that's rusty or cloudy may indicate internal corrosion. Brake fluid that has turned dark is absorbing moisture and losing effectiveness.
Equally, a fluid that keeps dropping between checks — even if you top it up regularly — almost always points to a leak somewhere in the system. Topping up without investigating the cause is masking a problem, not solving it. In such cases, a qualified mechanic should inspect the vehicle before further driving.
Brake Fluid Degradation Is a Safety Issue
Brake fluid absorbs moisture over time, which lowers its boiling point and can cause brake fade under heavy use. If your brake fluid looks dark brown or black, or if brake feel has changed, have the system inspected by a qualified mechanic promptly — do not delay.
Some overlooked maintenance tasks — like coolant flushes and brake fluid replacement — are time-based rather than level-based, meaning the fluid can look acceptable while still being past its effective service life. Your owner's manual will specify replacement intervals for each fluid type.