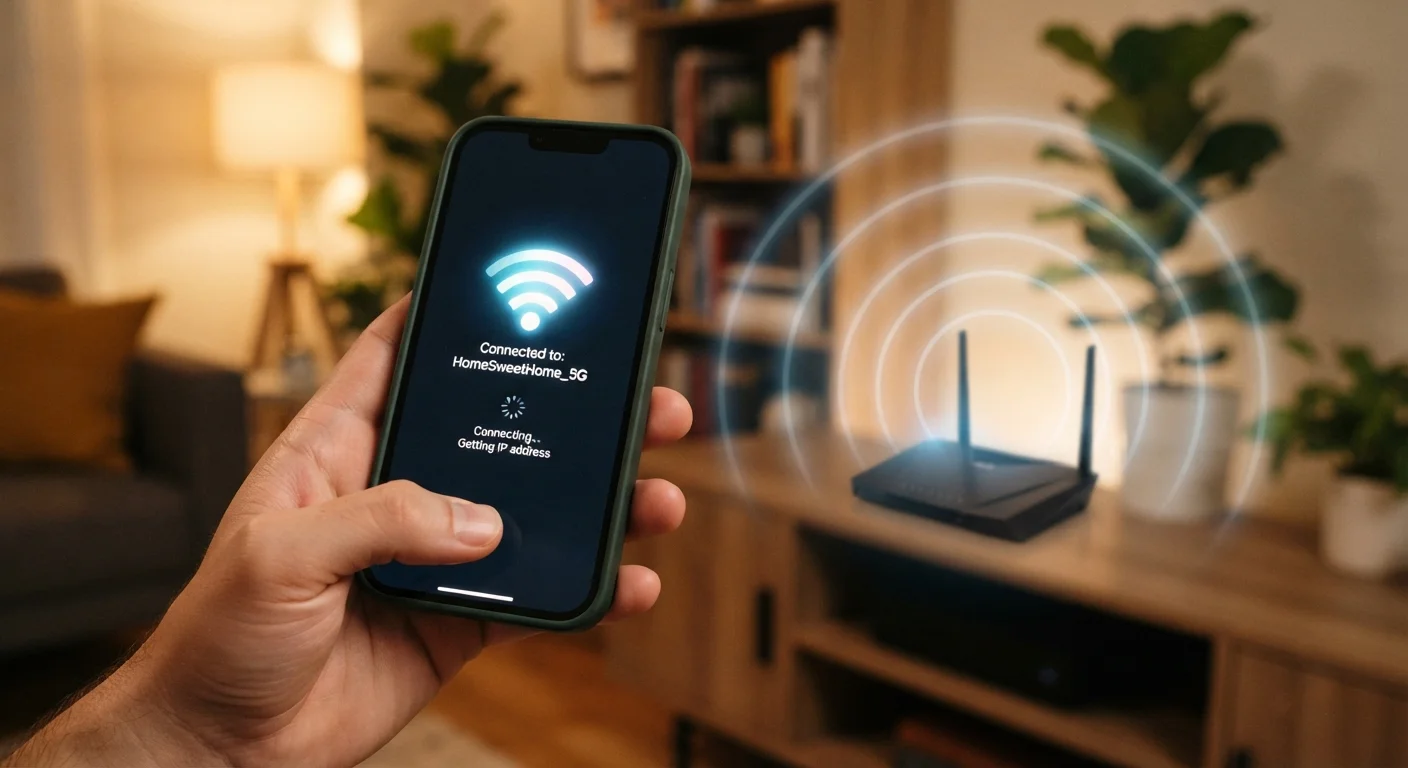
Step One: Scanning and Selecting a Network
Before any connection happens, your device listens for beacon frames — small packets of data that routers broadcast several times per second to announce their presence. Each beacon includes the network's name (called an SSID), the signal strength, and the security type in use.
When you open your Wi-Fi settings, you're seeing your device's compiled list of detected beacons nearby. If you tap a familiar network, your device already has the password stored. If you're joining a new network, you supply it manually. Either way, your device is now ready to formally introduce itself to the router.
For a broader look at how Wi-Fi compares to other short-range wireless technologies, see how Wi-Fi and Bluetooth differ.
Step Two: The Handshake That Proves You Belong
Once your device signals that it wants to join, the router doesn't simply accept the password and move on. Instead, both sides perform a cryptographic handshake — a back-and-forth exchange that verifies the password without ever transmitting it in plain text.
On modern networks using WPA2 or WPA3 security, this process is called the four-way handshake. The router sends a challenge, your device responds using a mathematically derived key based on your password, and both sides confirm they arrived at the same result. If the values match, the connection is authenticated. If they don't — wrong password — the router rejects the attempt.
This exchange also establishes the encryption keys used for your entire session, meaning every packet of data you send afterward is scrambled in transit.
Keep Your Network Security Up to Date
If your router's settings page allows it, verify that your network is using WPA2 or WPA3 rather than the older WEP or WPA standards, which have known vulnerabilities. Most routers manufactured in the past several years default to WPA2 or better, but it's worth confirming — especially on older hardware.
Step Three: Getting an Address With DHCP
Authentication alone doesn't let you browse the internet — your device still needs an identity on the network. This is where DHCP (Dynamic Host Configuration Protocol) comes in.
Your device sends a broadcast message that essentially says, "I'm here — can someone give me an address?" The router's built-in DHCP server responds with a local IP address, a subnet mask that defines the network's boundaries, and the address of the default gateway (usually the router itself) — the exit point to the wider internet.
< 5 sec
Typical Wi-Fi connection time
Under normal conditions, the full sequence from authentication to internet access completes in a few seconds on modern routers and devices.
~254
Max devices on a standard home subnet
A typical home network using a /24 subnet can assign up to 254 unique local IP addresses before addresses run out.
WPA3
Current strongest Wi-Fi security standard
WPA3, introduced by the Wi-Fi Alliance, offers stronger handshake protections than its predecessor WPA2, which remains widely used.
This assignment is temporary, known as a lease. When the lease expires or your device disconnects, the address goes back into the pool for the next device to use. That's why the same phone might have a slightly different local IP address on different days.
Step Four: DNS — Translating Names Into Destinations
With an IP address assigned, your device can communicate on the network. But when you type a website name into a browser, computers don't understand words — they work with numbers. This is the job of DNS, the Domain Name System.
Your device sends the website name (like example.com) to a DNS server — typically one provided by your router or your internet service provider. The DNS server looks up the corresponding numeric IP address and sends it back. Your device then uses that address to open a connection to the web server hosting the page.
The entire DNS lookup usually takes milliseconds, but it happens every time you visit a new address. Browsers and devices cache recent lookups to speed things up on repeat visits.
DNS Affects Speed and Privacy
The DNS server your device uses by default is typically assigned by your internet provider. Some users and network administrators choose alternative DNS servers for reasons of speed or privacy. Changing DNS settings is an advanced step — consult your router's documentation and understand the implications before making changes.
Once DNS resolves and the connection is open, data flows in both directions — your requests go out, and content comes back — all over the encrypted channel established back in the handshake step. If your home has multiple devices relying on this process simultaneously, see how mesh Wi-Fi handles the load.