Why Small Gaps Add Up to Big Energy Losses
Most homeowners assume their energy bills reflect the weather, the age of their HVAC system, or their thermostat habits. Rarely do they think about the dozens of small gaps quietly leaking conditioned air out — and pulling unconditioned air in — every hour of the day. Yet according to the U.S. Department of Energy, air infiltration through gaps, cracks, and openings in a typical home's envelope can account for 25–40% of heating and cooling energy use.
Draught-proofing — the practice of sealing those unintentional openings — is one of the highest-value, lowest-cost improvements a homeowner can make. Unlike upgrading insulation or replacing windows, most draught-proofing work requires no specialist skills, no permits, and only modest materials. For deeper energy-efficiency upgrades, it pairs well with better insulation; see our guide to insulation materials for a comparison of options.
Understanding where air escapes — and choosing the right sealing material for each location — is the core skill this guide builds.
What you will need
Tools and Materials You'll Need
Gathering your supplies before you start saves trips back to the hardware store mid-project. The materials listed below cover the most common gap types found in US homes.
Self-adhesive foam weatherstripping
Seals gaps along the edges of door and window sashes where the moving part meets the frame.
Acrylic or silicone caulk
Fills fixed, non-moving gaps around window and door frames, baseboards, pipe penetrations, and electrical outlets on exterior walls.
Door sweep or door shoe
Attaches to the bottom of exterior doors to block the gap between the door and threshold.
Expanding spray foam
Fills larger voids around pipes, conduits, and structural penetrations where caulk would not bridge the gap.
Draught excluder (letterbox and keyhole covers)
Blocks cold air entry through mail slots and old-style keyholes in exterior doors.
Reflective foil or rigid foam board
Insulates and air-seals attic hatch covers, which are frequently uninsulated in older homes.
Start With the Lowest-Hanging Fruit
If you're short on time, prioritize exterior doors first — a poorly sealed entry door can lose as much air as a softball-sized hole in your wall. Door sweeps and weatherstripping typically cost under $20 per door and can be installed in under 30 minutes, making them the fastest return on effort in any draught-proofing project.
Step-by-Step: Finding and Sealing Draughts
Work through the steps below methodically. Start at the top of the house and move downward — or tackle one room at a time — to avoid missing anything. Remember that some air movement through a home is intentional (combustion appliances and bathroom ventilation need fresh air), so never block mechanical vents, flue openings, or dedicated combustion air inlets.
Run a draught detection sweep
On a cold, windy day, close all exterior doors and windows. Hold a lit candle or burning incense stick a few inches from suspected gap locations — exterior door frames, window sashes, baseboards on exterior walls, attic hatches, electrical outlets, and pipe entry points. Watch for the flame to flicker or smoke to bend sharply sideways. Mark every leak location with painter's tape so you don't lose track.
Seal door and window frames with caulk
Where a window or door frame meets the surrounding wall casing, small gaps often open up as the house settles. Cut the caulk tube at a 45-degree angle to produce a bead slightly narrower than the gap. Apply steady, even pressure along the joint, then smooth with a dampened finger or plastic tool. Allow to cure fully before painting. For exterior applications, choose a paintable exterior-grade caulk rated for your climate's temperature range.
Replace or add weatherstripping to door and window sashes
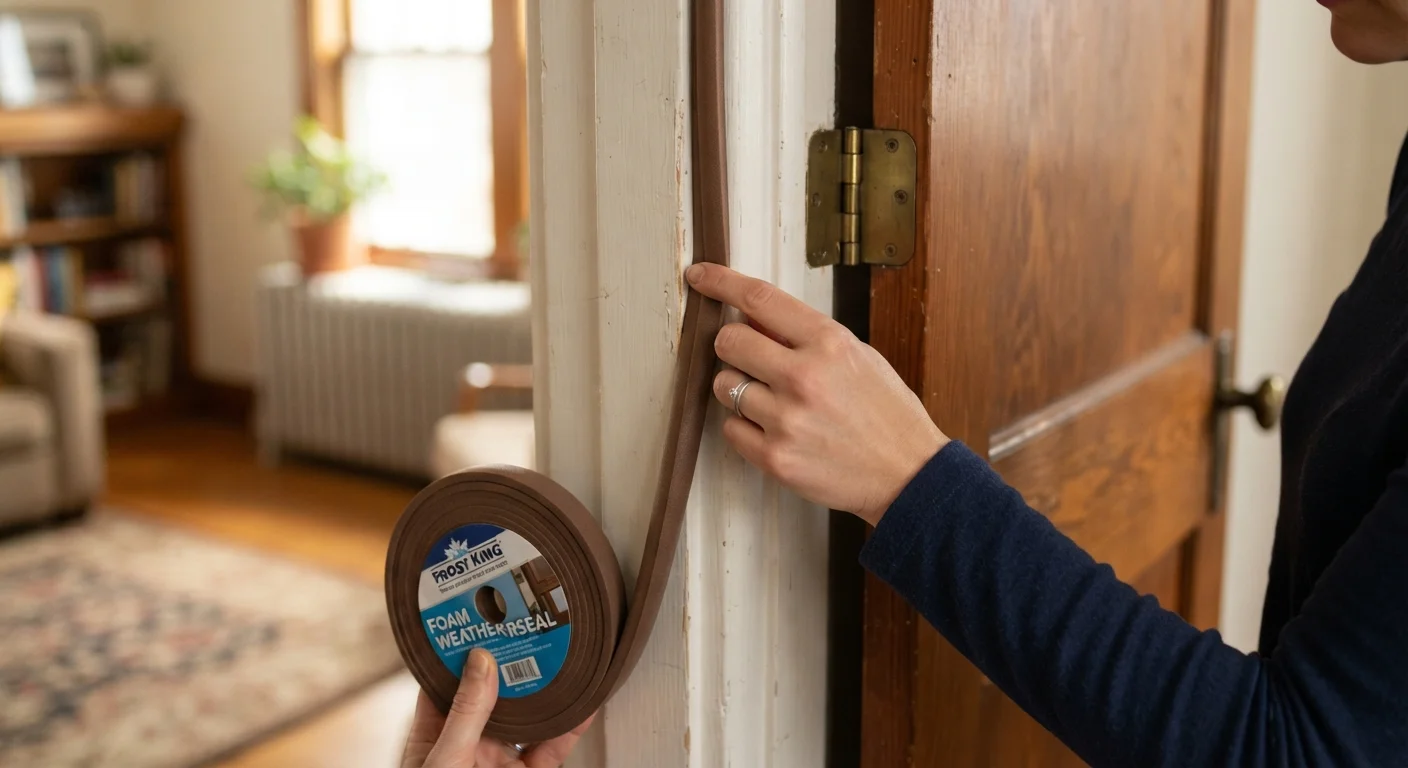
Foam weatherstripping compresses when the door or window closes, creating an airtight contact seal. Measure the total length of each door stop (the strip the sash presses against) and cut foam tape to fit. Peel the backing and press firmly along the door stop on the hinge side, latch side, and top. For windows, apply along the top and bottom sash rails where they meet the frame. Compression-style V-strip weatherstripping is more durable for frequently used doors and is worth the modest extra cost.
Install a door sweep on exterior doors
Remove the exterior door from its hinges if access to the bottom edge is difficult, or work with the door closed. Measure the door width and cut the sweep to length with a hacksaw if needed. Align the sweep so the rubber or brush seal just contacts the threshold when the door closes. Mark the screw holes, pre-drill to avoid splitting, and fasten securely. Open and close the door several times to confirm the sweep drags lightly without binding.
Seal pipe, conduit, and cable penetrations
Every pipe, wire, or duct that passes through an exterior wall or the ceiling between living space and attic creates a potential air pathway. For gaps up to about half an inch, acrylic caulk is sufficient. For larger voids around pipes, use low-expansion spray foam, which won't distort surrounding materials. Trim the cured foam flush with a utility knife once it has hardened — typically within 24 hours.
Insulate and air-seal the attic hatch
Attic hatches are often bare, uninsulated panels sitting in an unweathered frame — essentially a direct hole to the outdoor-temperature attic. Cut a piece of rigid foam board to fit the top of the hatch panel and adhere it with construction adhesive. Then glue self-adhesive foam weatherstripping around the inside of the frame opening so the hatch compresses the foam when closed. This single step can noticeably reduce heat loss in homes with finished attic access.
Never Block Combustion or Ventilation Openings
Gas furnaces, water heaters, and wood-burning fireplaces require dedicated air supply to operate safely. Sealing too aggressively in a home with atmospherically vented combustion appliances can cause dangerous backdrafting, drawing carbon monoxide into the living space. If your home has any gas or oil combustion appliances, consult an HVAC professional before undertaking whole-house air sealing.
For renovation projects where draught-proofing is just one line item, review costs homeowners often underestimate before setting your budget.
When to Stop DIYing and Call a Professional
Most draught-proofing around doors, windows, and interior trim is safely within DIY reach. However, some air-sealing work belongs to licensed professionals:
- Structural penetrations in top plates and rim joists — These require spray foam applied from inside an unsealed attic or crawlspace, where fall hazards and insulation irritants are present.
- Gas lines and flue penetrations — Sealing around gas pipes or flues with the wrong material is a fire and carbon monoxide risk. A licensed HVAC technician should assess these.
- Whole-house blower-door testing — If you want a precise air-leakage measurement and a room-by-room priority list, a certified home energy auditor uses pressurization equipment to pinpoint every leak your candle test would miss.
If you're also considering smart thermostats to complement draught-proofing, our practical look at smart home devices helps you weigh the real-world benefits before committing.
Gas Lines and Flues: Do Not DIY
Gaps around gas supply pipes and flue stacks require fire-rated materials and must comply with local codes. Using standard expanding foam or caulk in these locations can create a fire hazard or void your homeowner's insurance. Always have a licensed plumber or HVAC technician assess and seal penetrations that involve gas lines, flues, or combustion equipment.