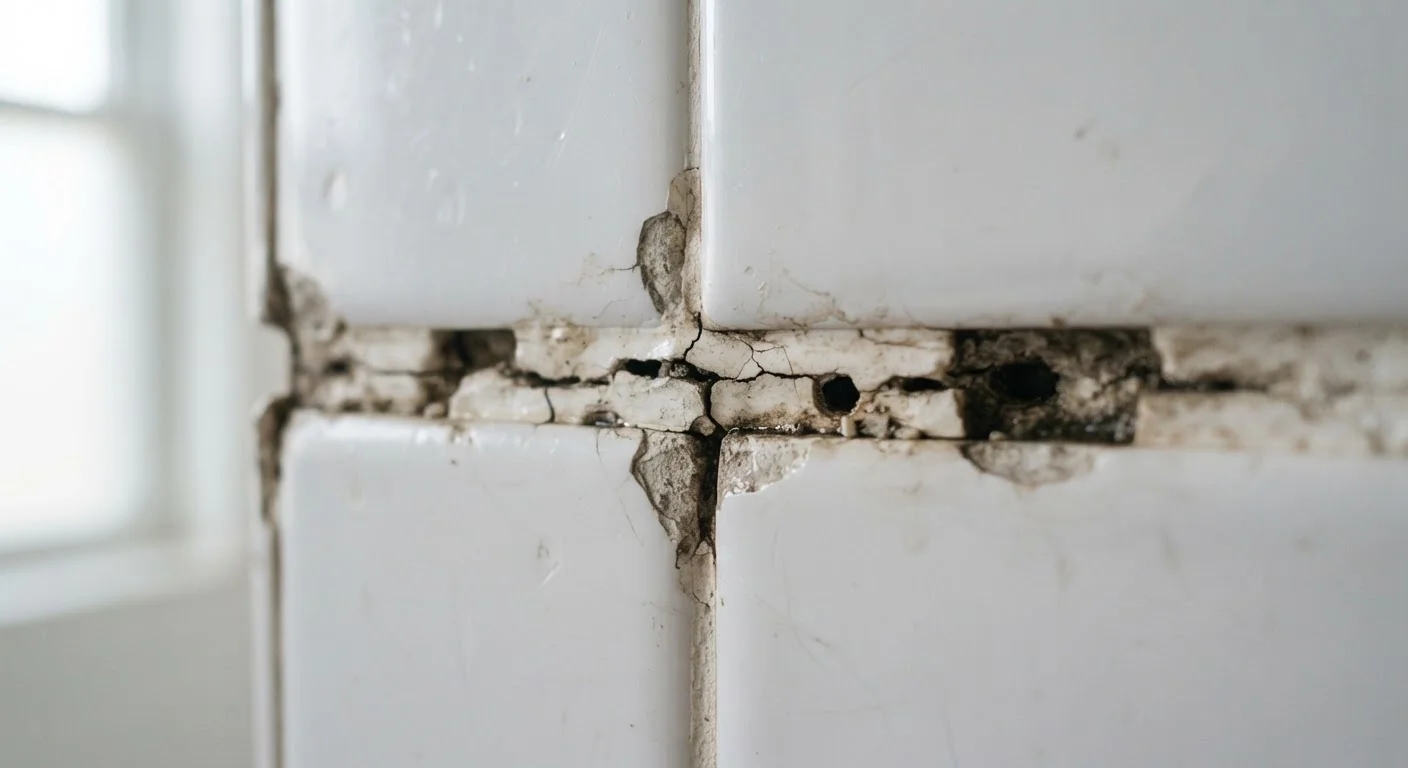
Why Grout Keeps Failing in the Same Spots
If you've repaired the same cracked grout line twice and it split again within months, the grout itself isn't the problem — your installation method or substrate conditions are. Grout is a rigid filler material, and it tolerates almost no movement. When the structure around it shifts, even slightly, the grout loses. Understanding why is the first step to a repair that actually lasts.
Two forces drive most recurring grout failure: substrate movement and application errors. Tiles installed over a subfloor or wall that flexes — even marginally — will eventually crack their grout. Similarly, grout that was mixed incorrectly, applied too thin, or not allowed to cure fully is far more brittle than it should be. The fix for each cause is different, which is why a one-size regrouting approach so often fails.
See our guide to common tiling myths for related mistakes that often set the stage for grout problems before the first tile is even set.
Filling expansion joints and change-of-plane corners with grout instead of flexible caulk.
Why it happens: Many DIYers treat all joints the same way, not realizing that corners and perimeter edges need material that can flex with natural building movement.
Adding too much water when mixing grout to make it easier to spread.
Why it happens: Watery grout moves into joints more easily, so the temptation is to keep adding water for workability. This weakens the final set significantly.
Grouting over an unstable, flexing substrate without addressing the movement first.
Why it happens: The substrate flex isn't visible to the eye during installation, so homeowners assume the surface is solid enough. The movement only becomes apparent after the rigid tile and grout system is stressed.
Not allowing grout to cure fully before exposing it to water or foot traffic.
Why it happens: Freshly applied grout looks dry within hours, making it tempting to use the space before the full cure window has passed.
Using unsanded grout in wide joints or sanded grout on polished stone tiles.
Why it happens: Homeowners often choose grout based on color availability rather than joint width or tile surface compatibility.
How to Repair Grout the Right Way
Effective grout repair starts with full removal of the damaged material. Grinding or scraping only the surface and applying fresh grout on top rarely bonds correctly — the new layer will simply pop out along the same stress lines. Use a grout saw or oscillating tool to remove grout to a depth of at least 2–3mm before cleaning the joint thoroughly.
Never Grout Over Existing Cracked Grout
Applying fresh grout directly over cracked or loose grout is one of the most common repair mistakes — and it almost always fails quickly. The new grout has nothing solid to bond to and will follow the same crack lines within weeks. Always remove the damaged grout completely before reapplying. Use a grout saw, oscillating multi-tool, or rotary tool with a grout removal bit, and wear eye protection throughout.
Once the joint is clean and dry, select the correct grout type. Sanded grout is appropriate for joints wider than 1/8 inch; unsanded grout is better for narrower joints and polished stone, which sanded grout can scratch. For areas that experience movement — floors, transitions between wall and floor, or anywhere two surfaces meet at an angle — use a flexible silicone or urethane caulk instead of grout entirely. These corners are called change-of-plane joints, and caulk is specifically engineered to handle the micro-movement that rigid grout cannot.
Mix powdered grout to a peanut-butter consistency — firm, not runny — and work it in small sections. Allow full cure time before exposing the grout to water, and apply a penetrating grout sealer once cured to protect against moisture and staining.
2–3mm
Minimum grout removal depth for effective repair
Industry guidance from tile installation standards recommends removing grout to this depth before reapplication to ensure adequate bond.
72 hrs
Typical minimum cure time before wet exposure
Most cement-based grout products require up to 72 hours of dry cure before being exposed to sustained moisture or cleaning.