Understanding the Damage Before You Start
Not all drywall damage is the same, and choosing the wrong repair method wastes time and produces a poor result. Before gathering supplies, identify which category your damage falls into:
- Hairline cracks: Thin surface fractures, often caused by settling or temperature fluctuations. No material is missing.
- Small holes (up to 1 inch): Nail pops, small anchors, or minor impact damage. The surrounding drywall is still structurally sound.
- Medium holes (1–4 inches): Door knob strikes, broken anchors, or accidental impacts. Require a backing patch or mesh insert.
- Large holes (4–6 inches): Require a cut-and-patch method using a new piece of drywall backed by wood or a clip system.
Once you know what you're dealing with, gather the appropriate supplies listed below.
What you will need
Putty knife or drywall knife (4–6 inch)
Applies and feathers joint compound over patches and cracks.
Pre-mixed joint compound (lightweight)
Fills and levels the repaired area; dries lighter and sands more easily than setting-type compound.
Self-adhesive mesh patch (for medium holes)
Provides a flexible backing to bridge holes up to 4 inches without needing to cut new drywall.
Drywall screws and 1×3 wood backing strips (for large holes)
Anchor a new drywall patch piece securely inside the wall cavity.
Sandpaper (120-grit and 220-grit)
Smooths the cured compound so the patch blends seamlessly with the surrounding surface.
Drywall primer
Seals the compound before painting to prevent uneven absorption and flashing.
Utility knife and drywall saw
Cuts out damaged drywall cleanly when a full patch replacement is needed.
Step-by-Step Repair Instructions
Work through the steps below that correspond to your damage type. If you're tackling multiple areas, repair the largest holes first so all coats can dry in parallel.
Prepare the Damaged Area
Remove any loose drywall paper, crumbling edges, or protruding screws around the damage. For hairline cracks, widen the crack slightly with a utility knife to give the compound something to grip. For holes, clear any broken fragments and ensure the edges are clean and firm. Sand rough edges lightly and wipe away dust with a dry cloth.
Apply the Appropriate Backing (Medium and Large Holes Only)
Medium holes (1–4 inches): Center a self-adhesive mesh patch over the hole and press it firmly to the wall. The mesh provides enough support to hold compound without sagging.
Large holes (4–6 inches): Use a drywall saw to cut the hole into a clean rectangle. Cut two 1×3 wood strips a few inches longer than the hole's height and insert them vertically inside the wall, one on each side. Drive drywall screws through the existing wall and into the strips to secure them, then cut a new piece of drywall to fill the opening and screw it into the backing strips.
Apply the First Coat of Joint Compound
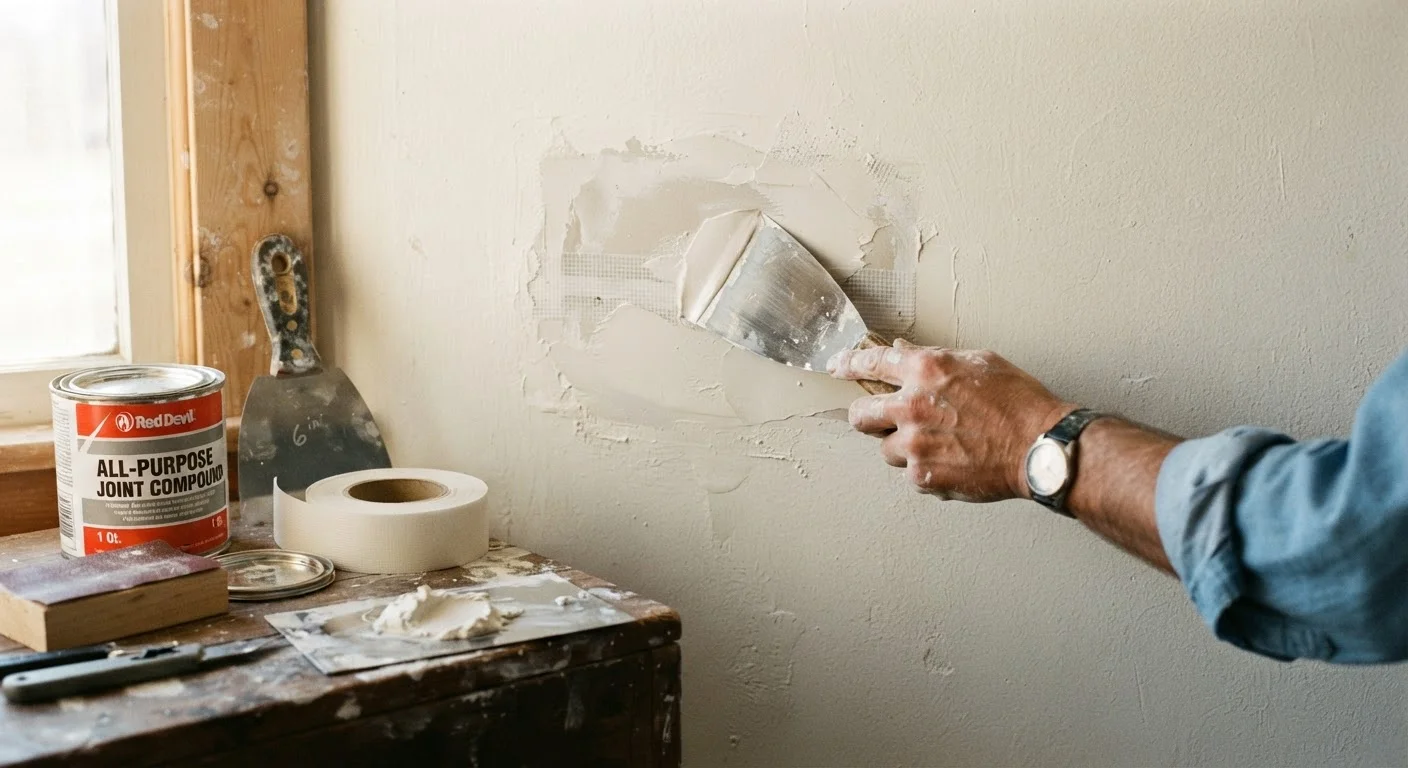
Using your putty knife, spread a thin, even layer of pre-mixed joint compound over the patch or crack. For mesh patches, press compound firmly into the mesh openings. Feather the edges outward so the compound gradually blends into the surrounding wall surface. Avoid building up a thick mound — a thin coat that dries completely is better than a thick coat that cracks.
Allow to Dry Fully, Then Sand
Joint compound must dry completely before the next coat — this typically takes 4–8 hours depending on humidity and coat thickness. The compound will change from a darker, wet color to a consistent white or off-white when dry. Do not rush this step. Once dry, sand lightly with 120-grit sandpaper to knock down any ridges, then wipe away the dust.
Apply Second and Third Coats
Apply a second coat of compound, extending it slightly wider than the first to continue feathering. Repeat the dry-and-sand cycle. Most repairs need a third, final skim coat — an especially thin pass that fills any remaining low spots and tool marks. After this coat dries, finish sanding with 220-grit paper until the surface feels flush and smooth to the touch.
Test Texture Before Committing
If your walls have a textured finish, practice replicating it on a piece of cardboard before applying it to the wall. Spray texture products vary in nozzle pattern and pressure, and a few test passes will help you dial in the right distance and technique. Getting the texture right is what separates a barely-visible repair from one that's completely undetectable.
Recurring Cracks May Signal Structural Issues
If cracks reappear shortly after repair, especially diagonal cracks radiating from window or door corners, this may indicate foundation settling or structural movement rather than surface-level damage. In these situations, consult a licensed structural engineer or home inspector before continuing with cosmetic repairs.
Finishing and Blending the Patch
A structurally sound patch that stands out visually is still a failed repair. Finishing is where DIYers most often rush — and where results fall apart.
Once your final compound coat is completely dry, sand the area starting with 120-grit sandpaper and finishing with 220-grit for a smooth transition into the surrounding wall. Feather the edges outward at least 6 inches from the patch center. Wipe away all dust with a slightly damp cloth and let the surface dry fully.
Apply a coat of drywall primer to seal the compound. Skipping this step causes paint to absorb unevenly, producing a dull spot called flashing — even when the paint color matches perfectly. Once the primer is dry, paint with the same sheen and color as the surrounding wall. In older homes, an exact color match may require a paint sample and a custom mix from a paint retailer.
If texture is present on your wall — orange peel, knockdown, or skip trowel — replicate it before priming. Spray texture products are widely available and can approximate most common finishes, though practice on cardboard first is strongly recommended.